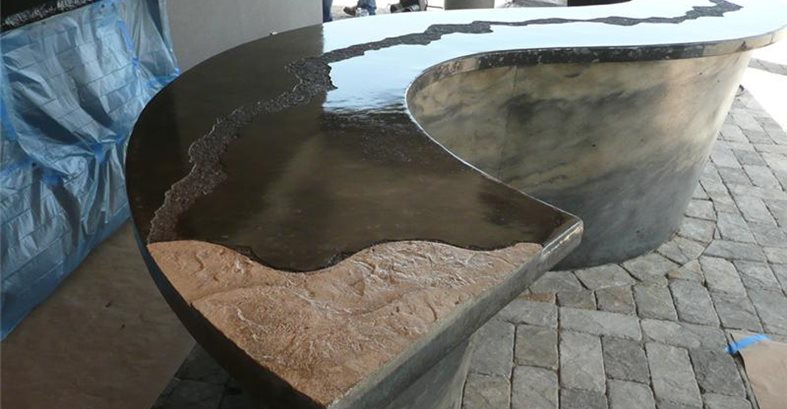
The base and top of this S-shaped counter were all made from concrete. View the rest of the photos to see the process.
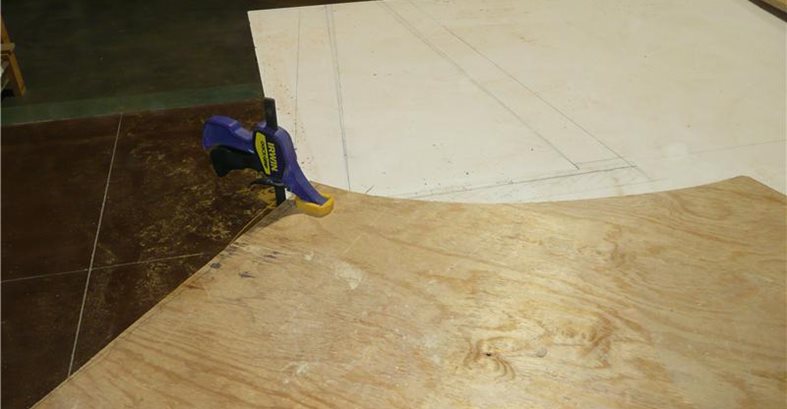
The first step was to lay out the angle for our S-curve on melamine.
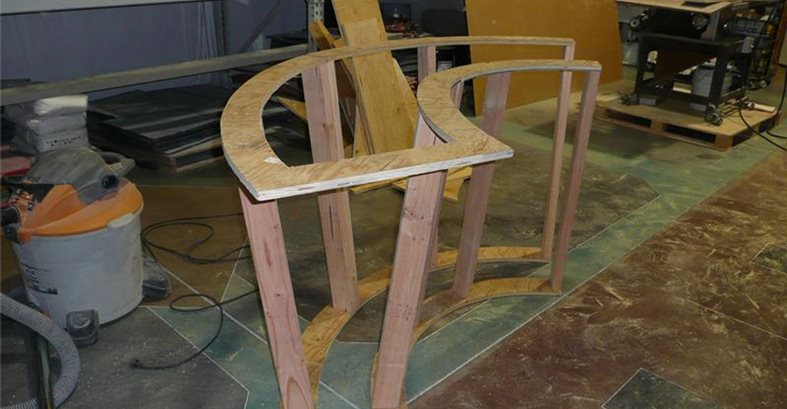
Second, we cut the top and bottom rails for the countertop out of ¾-inch plywood.
The next step was to attach 2x4s to the top and bottom rails.
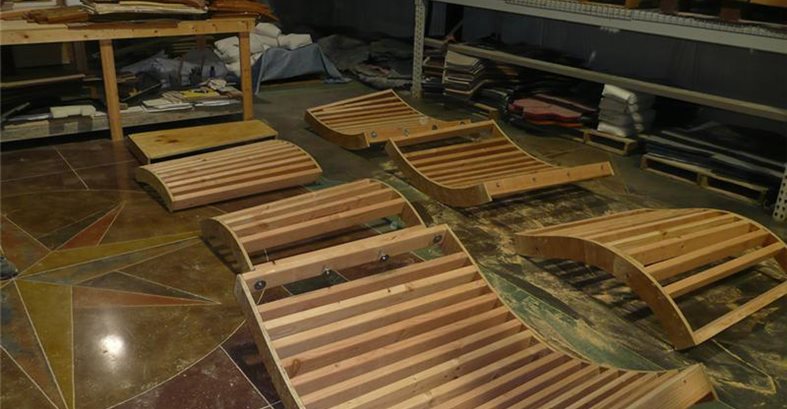
Because of the curves, we had to build the forms as individual panels so they would be easier to remove after concrete placement.
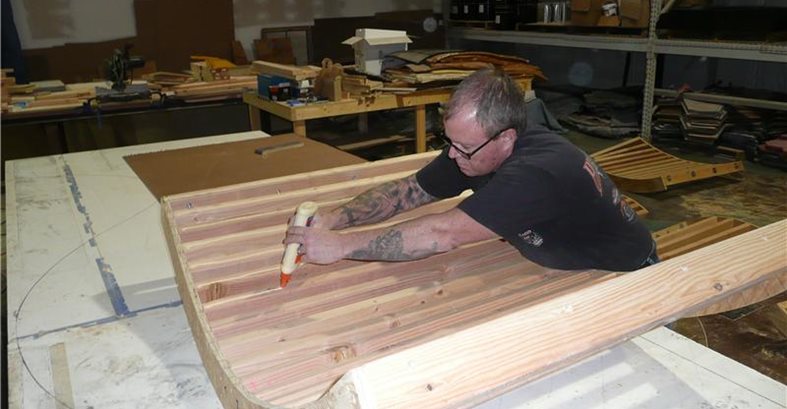
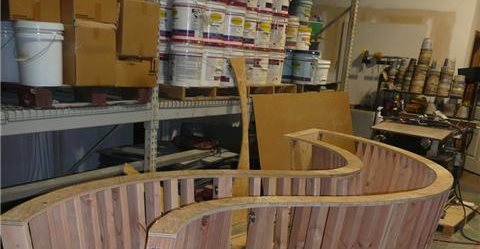
Wood glue was applied to the 2x4s and then Masonite was clamped on and brad nailed.
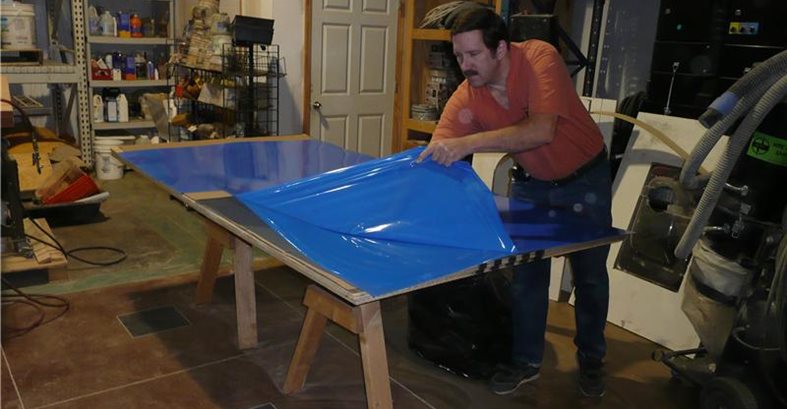
We applied 1/16-inch acrylic sheets to the Masonite to achieve a smooth concrete surface.

We attached the sheets to the Masonite using contact adhesive, and then used a laminate roller to ensure good contact.

We attached ¾-inch pink foam to the forms so they would not be wedged in during removal.
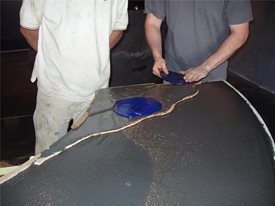
We used buckets to pour the concrete into the forms, alternating layers of standard gray and charcoal gray mixtures.
I'm starting this story 7 hours into a 9 ½- hour plane ride to Honolulu. Ouch, on this old concrete finishers back! But at least the long flight gives me time to continue my on-going saga about the decorative concrete work I've been doing for the Higgs' residence. (Once I've had my complimentary drink and peanuts, of course.)
We are now coming to one of the final episodes. As mentioned in my earlier article Show and Tell, about the importance of having a showroom, when our client Lori Higgs came to our studio, she fell in love with a mammoth S-shaped counter we had cast right in our showroom. Lori asked if we could recreate this counter in their outdoor pool cabana, in addition to another 100-square-foot cast-in-place counter that we would ultimately texture in a light slate along with a textured edge. When building forms for an S-shaped piece, we had to take many considerations into account. For instance, we had to make the forms strong enough to withstand the pressures of pouring fresh concrete while considering the aesthetic value of the finished sides, which meant casting against a smooth surface. Also, this was a monolithic pour involving a cantilevered countertop, so we had to form the sides in such a way that we wouldn't damage the top overhanging portion while removing the side forms once the concrete cured.
Form construction begins
Because of the time of year when we started the project (it was really, really cold!), and because we wanted the convenience of having the necessary tools and supplies at hand, we fabricated the forms at our shop and then transported them to the Higgs' home to set them in place. (Speaking of cold, it was necessary for our team to build temporary walls out of plastic so that we could heat the area while pouring and curing the concrete.) Since we had previously built this type of counter at our shop, this gave us a bit of a jumpstart because we could use that piece as a reference to take measurements and make templates. Our first step was to lay out the actual side profile on a piece of melamine to determine the final height and the appropriate angle of the S-curve. Once that was done, it was time to fire up our power tools and get busy.
We started off by cutting what would become our bottom and top rails out of ¾-inch plywood. We then calculated the necessary amount of 2x4s and cut them to the appropriate height and 7-degree angle on both sides that would give us the desired batter. Because this countertop was almost 15 feet long, we had to break up the forms into individual panels that would ultimately get bolted together for strength. Had we not built the forms in individual units, it would have been nearly impossible for us to strip them once the concrete cured.
After the individual panels were built, it was time to attach Masonite by applying a bead of wood glue to the 2x4s followed by brad nailing. Next, we laminated acrylic sheets to the Masonite so we would get a smooth concrete surface once the forms were stripped. We purposely cut the sheets larger than needed. Once installed, we used a router to cut the acrylic panels to the precise dimensions. We attached the acrylic sheets to the Masonite with contact adhesive, using a laminate roller to make sure the material was firmly pressed and free of air pockets. Once the adhesive cured, the edges were then routered. Now we were ready to load the forms onto the truck and haul them to the Higgs' house.
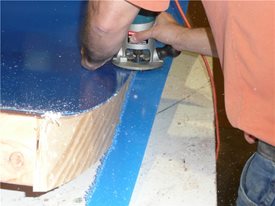
We purposely made the acrylic sheets larger than necessary so we could router them to a precise fit.
Assembling the pieces
We planned to pour the counter right on the subfloor of the outdoor cabana, knowing that it would be covered with 2 ½-inch-thick cobblestone once the counters were complete. We were fortunate because whoever poured the concrete slab did a decent job, allowing us to assemble the forms with little shimming needed.
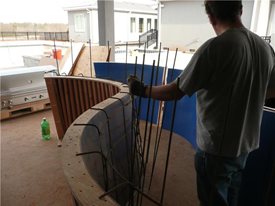
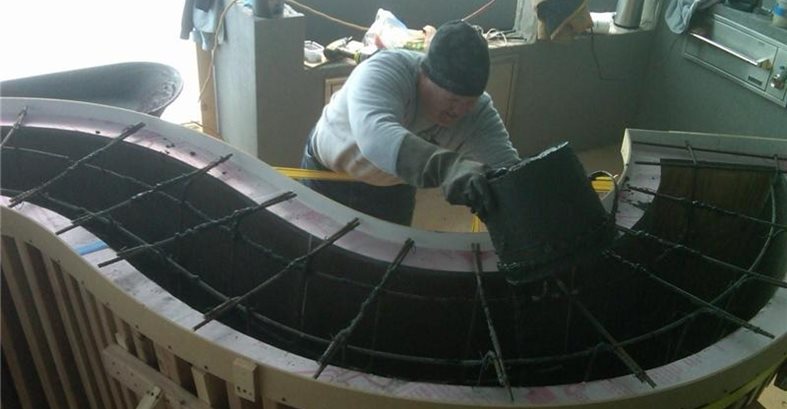
One side of the form is set, and a mat of #4 rebar is tied into place.
After one side of the form was positioned, we installed a mat of #4 steel reinforcing bar and then positioned the other side of the form and bolted both sides together, securing them to the subfloor using Tapcon screws and bracing them for support. (A word of caution: Even if you think you have sufficiently braced your forms to prevent a blowout, it's wise to add more supports and braces for insurance.)
Next, we applied ¾-inch-thick foam to create a gap so the forms were not wedged or locked in. When it came time to remove the forms, we could simply burn the foam out using a hot knife.
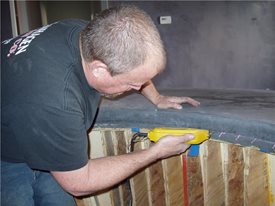
When it was time to remove the forms, a hot knife was used to burn off the foam. Notice the gap left after removal of the bottom form.
Pouring the concrete
Now that the forms were installed and inspected, it was time for the fun part - filling them up with concrete. I must admit, with the amount of work and labor spent up until this point, I had butterflies in my stomach when the concrete truck (or in this case, two trucks) showed up on the jobsite. The concrete was a modified 7-sack mix with ½-inch aggregate, a water reducer to make the concrete more fluid, and 5% air entrainment to prevent excessive bleed water. One concrete truck carried a yard of standard gray mix and the other one a yard of charcoal-colored concrete. We wanted to pour the two colors in lifts to achieve an organic look like you would find in natural stone with beautiful sedimentary layers. Because we wanted to pour this counter slowly, we figured we would simply bucket the concrete into the forms from wheelbarrows. We had a bad experience previously using a pump and felt that this pouring method would suit us better.
This is the step-up detail on the countertop surface, which we stamped with small texture skins so they would resemble pieces of stone.
We poured the concrete in roughly 10-inch lifts, placing the gray concrete first followed by the charcoal concrete, alternating the two mixtures until we reached the top. To blend the colors, we vibrated each lift using a pencil vibrator. As a final detail, we created little step-ups on the countertop surface during the finishing process, and then textured them to look like small pieces of stone. At the conclusion of the day's pour (around 9 p.m. that evening), the team was ready for a couple of cold, frosty beverages. I agreed, with no arm twisting needed.
The big unveiling
After keeping the countertop damp and covered with curing blankets for 7 days, it was time to strip the forms and unveil the underlying concrete. The beautiful thing about working with concrete is that often you have no idea what you're going to get until the unveiling. In our case, we were ecstatic with the results, and more importantly our client, Lori, loved the finished piece. Due to the cold weather, we waited a month before finishing off the counter with Key Resin's 452 acrylic/urethane sealer, applied with a high-volume, low-pressure spray gun.
The entire project was a joy to work on and was truly a dream job, considering all of the decorative concrete applications we were able to perform. Undoubtedly, the highlight of this project was working for such cool clients! It was refreshing to see Lori and Kevin Higgs get as excited (if not more) as we are about decorative concrete, which I did not think was possible.
Decorative Concrete Institute
Temple, GA 30179
Read More About Concrete Countertops
Return to Concrete Countertop Projects