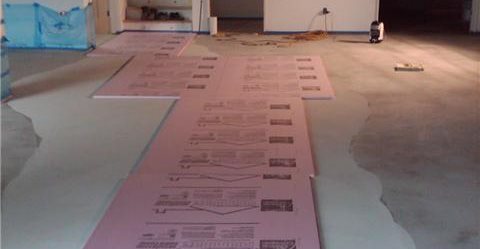
Next, we applied a white skim coat to fill in popouts and to make a nice canvas for the blue dyes. We then laid out the foam, and used a hot knife to cut out our design.
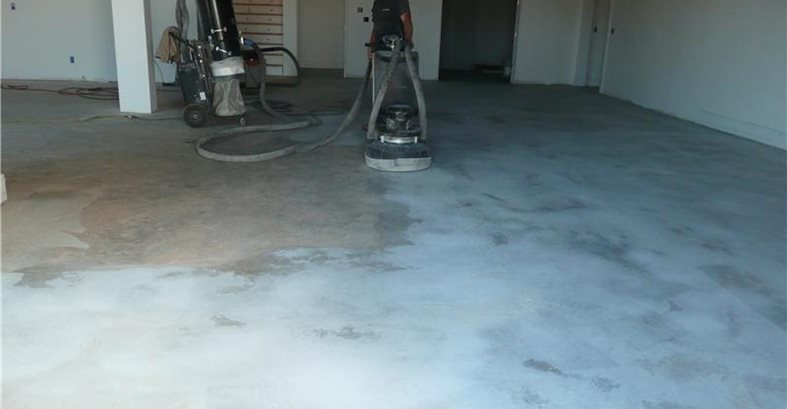
First, we started by grinding the floor to obtain a roughened surface profile.

Notice the beautiful marble tiles on the walls. This is where we took the leftovers and chipped them into mosaic pieces that we later embedded in the floor overlay.
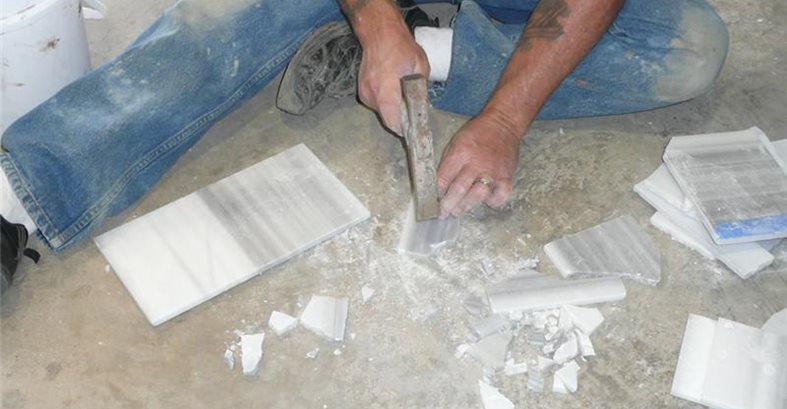
Harris chips the leftover marble into mosaic pieces.
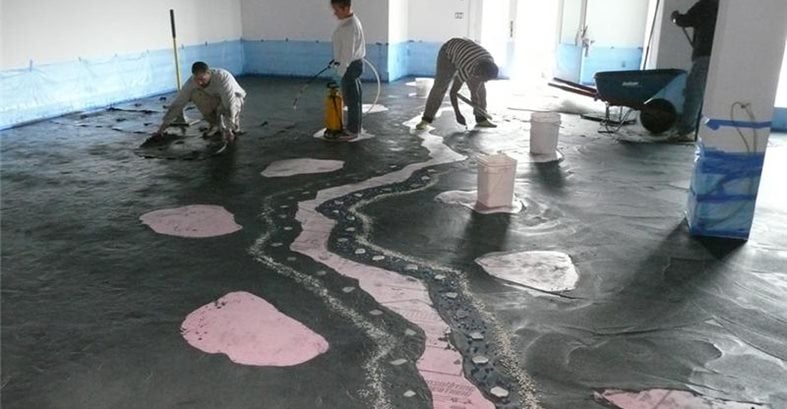
A polymer-modified, cementitious stampable overlay is applied to the floor with a gauge rake and then hand troweled.
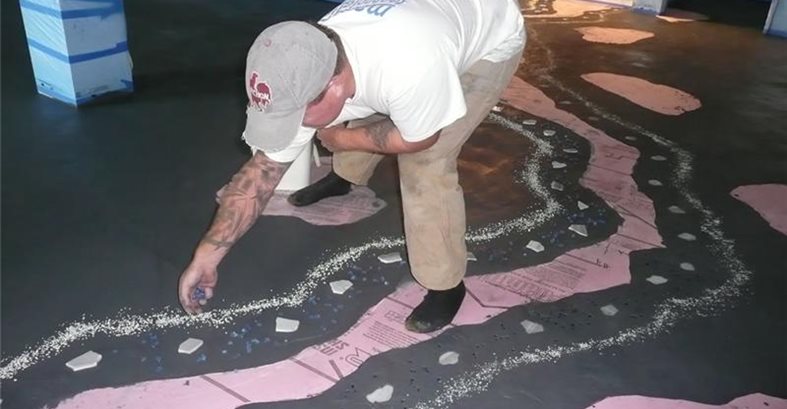
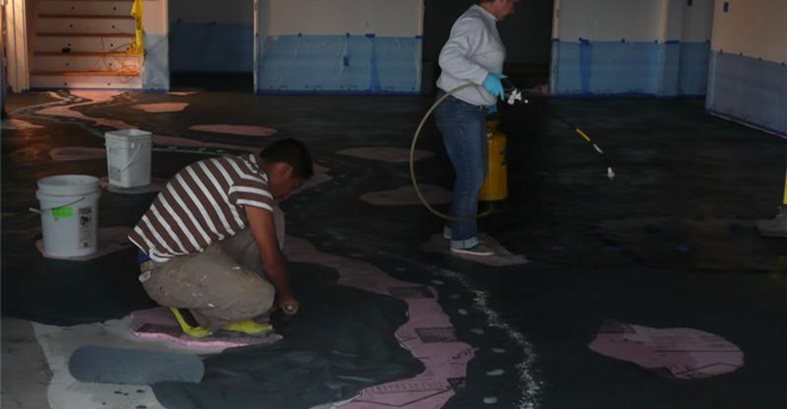
Harris sprinkles blue crushed glass, glow-in-the-dark aggregate, and the hand-chiseled mosaics onto the fresh overlay.
The decorative aggregate was gently hand tapped into the overlay using a small texturing skin.
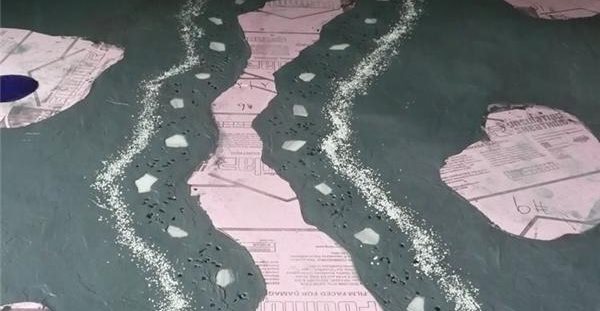
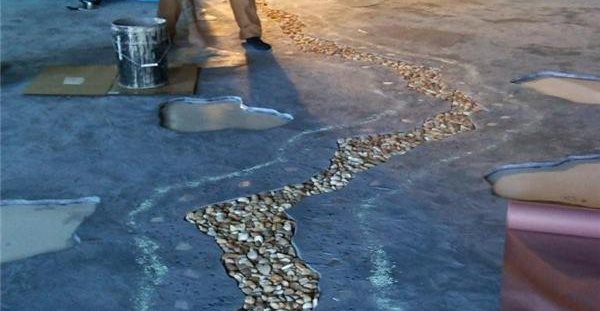
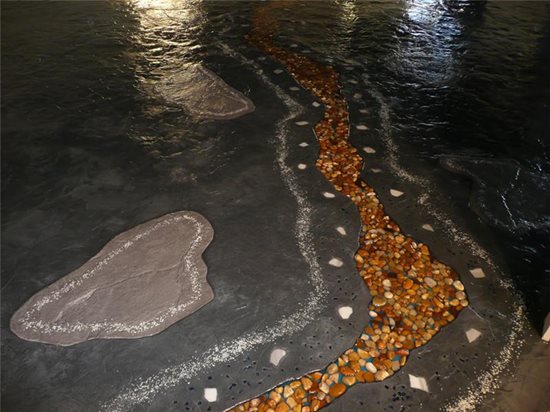
The river starts to take shape, winding through the pieces of decorative aggregate.
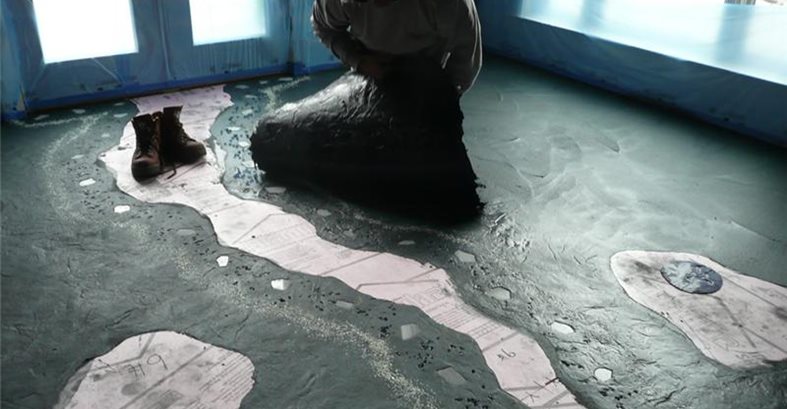
Skins are used to apply seamless texture to the fresh overlay.
The next day, we begin to remove the foam.
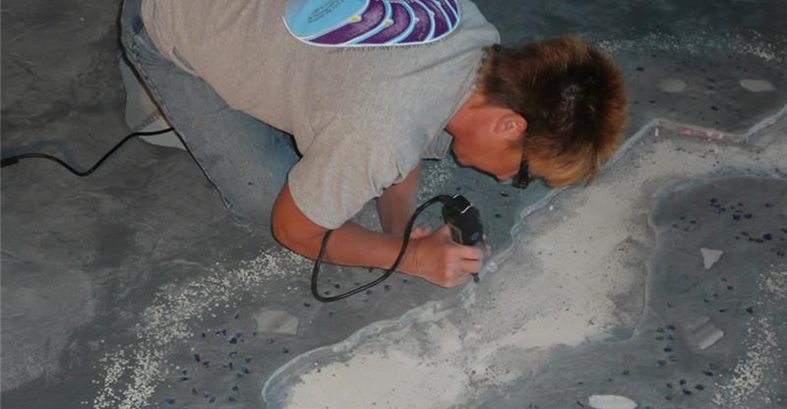
A dremel tool came in handy for removing residual foam.
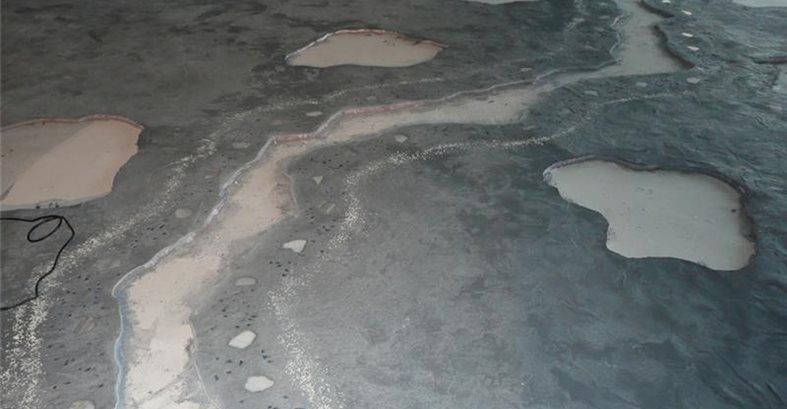
All the foam is removed and the floor is ready for the next step.
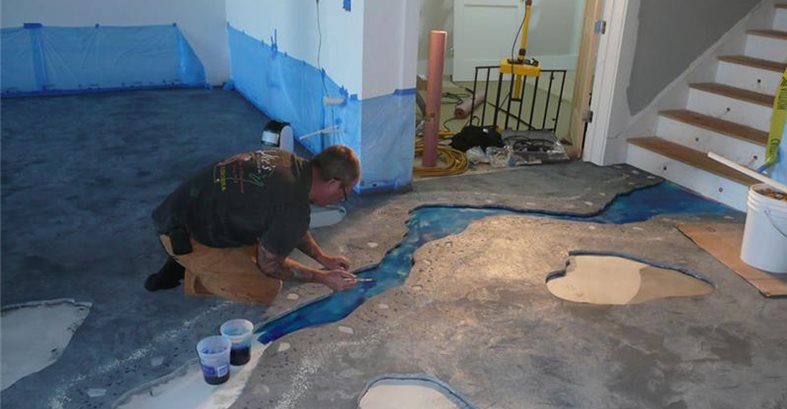
Harris begins applying the dyes to the riverbed, using a combination of Caribbean Blue and Royal Blue DCI dyes.
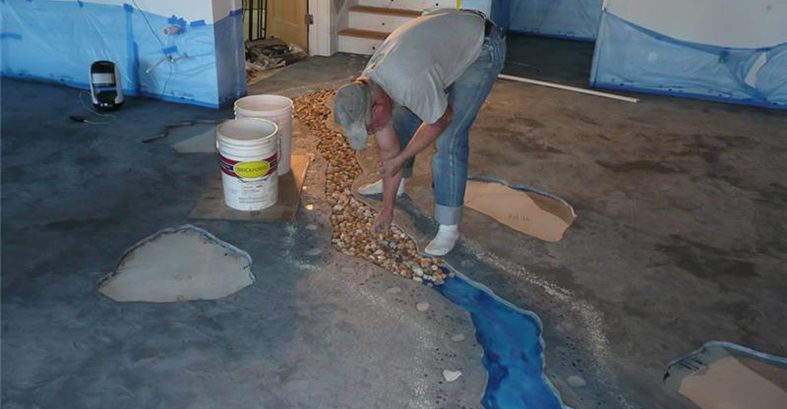
Next, the river rocks are placed in the riverbed.
The lighter-gray stepping stones are filled with the polymer-modified overlay and then textured. Next, we poured an epoxy casting resin on the rocks in the riverbed.
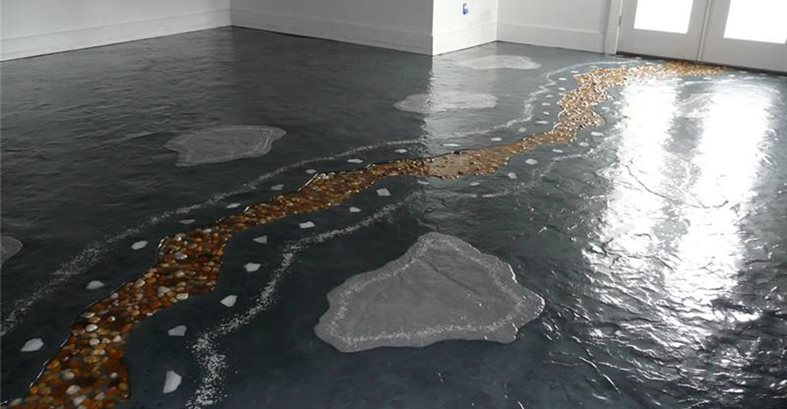
The finished project, after application of two coats of 100%-solids epoxy glaze.
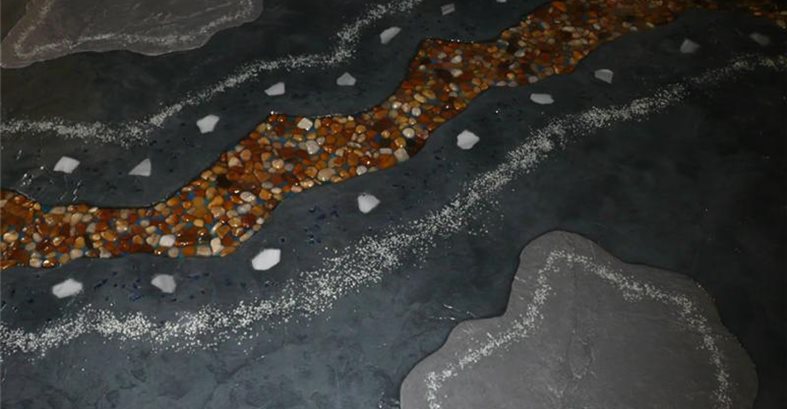
A close-up of the finished floor.
Once in a while you come across a client that has enough confidence in your abilities, not only from a construction standpoint, but also creatively by giving you complete artistic freedom on a project. As I mentioned in my article Show and Tell, this was the case with homeowner Lori Higgs, who became completely enamored with decorative concrete after visiting our showroom. Although she set certain parameters for her basement floor, such as the use of charcoal colors rather than earth tones and to embed the same type of river rock she saw at our showroom, we were able to throw in some unique elements.
hfzimages / Shutterstock
Like always, it started with a sample we produced at our shop for the client to approve or disapprove in terms of concept, color, and texture. In our 4x8-foot sample for Lori, we thought it would be cool to throw in some glow-in-the-dark aggregate running along both sides of the river rock. Since most of the color scheme in her basement was black, when the lights were turned off, the aggregate would produce a dramatic glow running down both sides of the river across the entire 1,300-square-foot length of the floor. Also, we proposed the idea of installing what appeared to be stepping stones on either side of the river to add more realism. Once we completed the sample, we invited Lori to the shop to approve it. We mentioned that we had added a couple of elements, but I think she thought we were nuts when we said we were going to turn off the lights so she could look at the sample. Once the lights were out, Lori shrieked with delight, saying, "That is so cool!" Needless to say, she approved the sample.
The work begins
Before installing Lori's floor, we had to prepare the existing concrete surface. We started off by dustless grinding to obtain a roughened surface profile and to remove surface laitance and debris. Once the grinding was complete and the floor was spotless, we applied a white skim coat to certain areas where the river was to be installed. The white makes a nice canvas for adding blue dyes to mimic water. In addition, some areas of the floor had severe popouts that needed to be filled so they wouldn't ghost through to the finished floor.
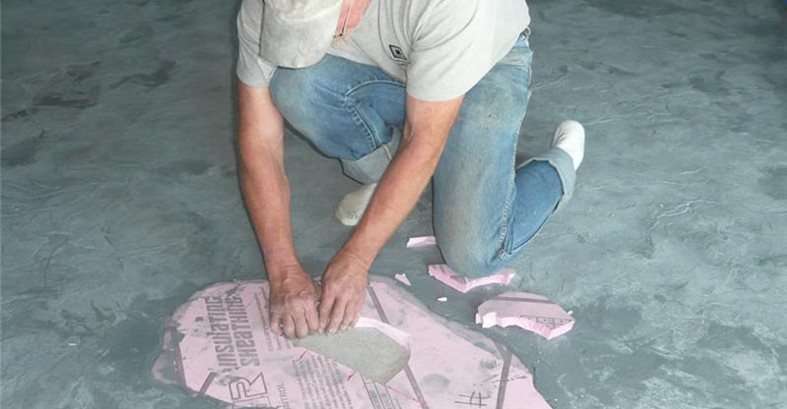
The next step was to lay out the river bed and stepping stones. We did this by using ¾-inch-thick foam board, drawing the design onto the foam and then using a hot knife to cut out the shapes. Next, we stuck the foam to the floor. There are several ways to do this, such as using silicone or two-sided tape. However, we apply blue painter's tape first and then use two-sided tape to attach the foam to the blue tape rather than directly to the concrete. Because the blue tape releases easily, no residue is left behind.
Making good use of leftovers
While all of this action was taking place, we were also working in the master bathroom forming a countertop. I noticed that Lori's tile workers were installing beautiful gray and white marble to the walls. I asked them what they were doing with the leftover pieces, and they said they were just throwing them in the dumpster. It was time for some dumpster diving! The next day, we were back at the shop with a bunch of scrap tile that we hand chiseled into individual mosaic pieces that would soon find a new home embedded into the charcoal floor overlay.
With all of the embedments in hand, it was now time to install the overlay over our freshly primed floor. We used approximately 12,000 pounds of Mirastamp from Miracote - a polymer-modified, cementitious, stampable overlay system. Originally, we thought we would execute this installation in two pours, with the thought being it would be much easier to apply the embedments while standing on hardened concrete. But at the last minute, we decided to pour the entire floor in one shot. We poured one side first, applying the glow-in-the-dark aggregate, crushed glass, and custom-cut mosaics. When we poured the second side, we had to walk on top of the foam river in the middle, like gymnasts walking a balancing beam, except without the same gracefulness. One person, while balancing on the beam, used a small texturing skin and gently hand tapped the decorative aggregate into the overlay, taking care not to embed the aggregate too deep. This process worked great. Approximately 8 hours later and after using up 200 bags of overlay mix, we celebrated a successful day back at the shop with a few cold, frosty ones.
The river comes to life
The next day, it was time to remove the foam and pour the lighter gray stepping stones, using 15 additional bags of Mirastamp. We also dyed the river bed using two shades of DCI dyes-- Caribbean Blue and Royal Blue. First, we applied the dyes and let them dry, and then we filled the void left behind from the foam with river rock. We waited until the next day to epoxy the river bed so we wouldn't have to walk on our freshly poured stepping stones. We filled the river bed with Key Resin #110 casting resin, a 100%-solids clear epoxy glaze. Over the next several days, we applied two coats of epoxy, since Lori wanted a very shiny floor. After most of the construction is complete, our last step will be to go back and sand the floor with a 100-grit sanding screen, wipe the floor with a solvent, and then apply an aliphatic polyurethane as the final finish.
Stay tuned for more details about this project, including the custom concrete countertops and vertically stamped walls.
Submit Your Own Project Photos
See more water inspired concrete floors
Get more basement floor design ideas