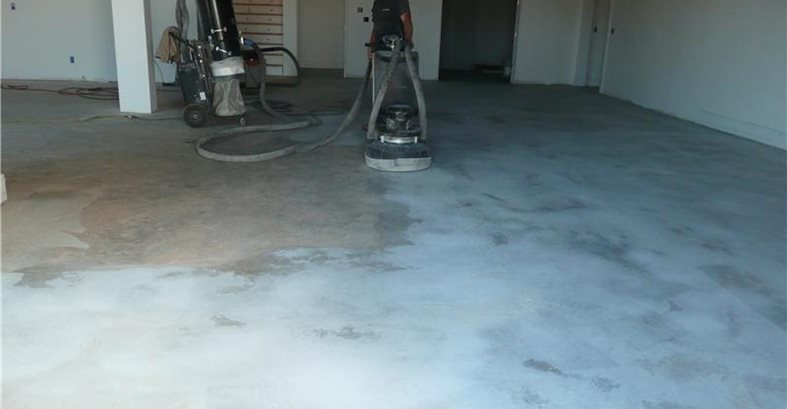
We started by grinding the floor to obtain a roughened surface profile.

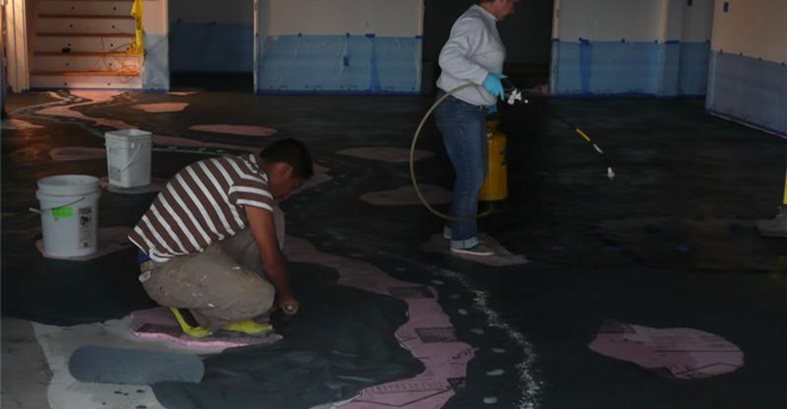
Next, we applied a white skim coat to fill in popouts and to make a nice canvas for the blue dyes. We then laid out the foam, and used a hot knife to cut out our design.

Notice the beautiful marble tiles on the walls. This is where we took the leftovers and chipped them into mosaic pieces that we later embedded in the floor overlay.

Harris chips the leftover marble into mosaic pieces.
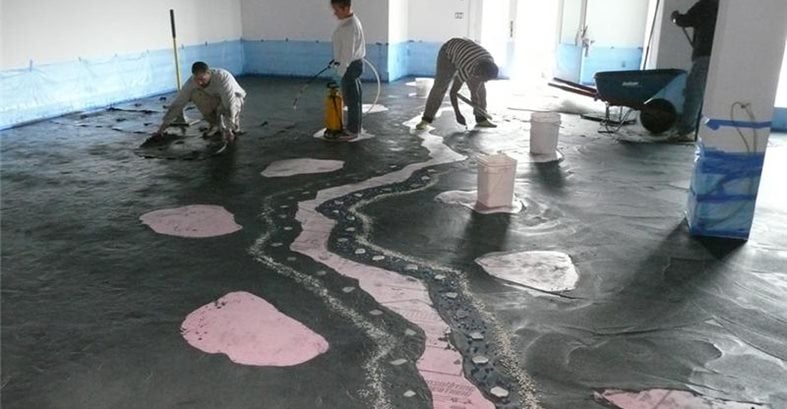
A polymer-modified, cementitious stampable overlay is applied to the floor with a gauge rake and then hand troweled.
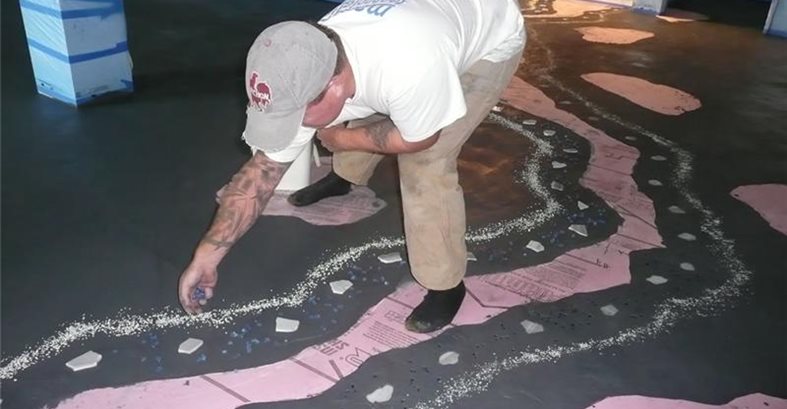
Harris sprinkles blue crushed glass, glow-in-the-dark aggregate, and the hand-chiseled mosaics onto the fresh overlay.
The decorative aggregate was gently hand tapped into the overlay using a small texturing skin.

The river starts to take shape, winding through the pieces of decorative aggregate.
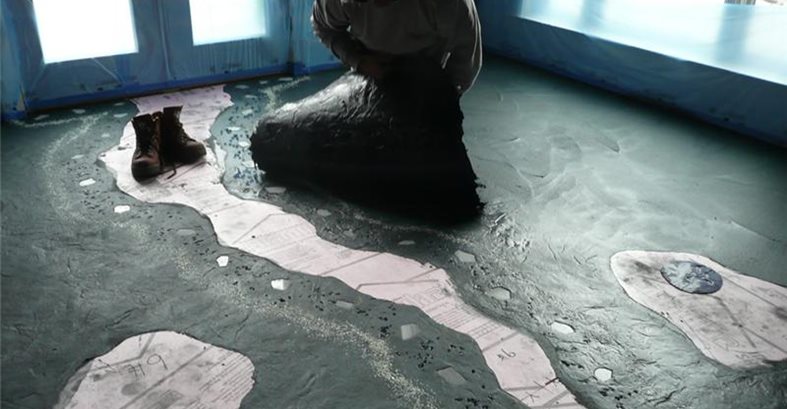
Skins are used to apply seamless texture to the fresh overlay.
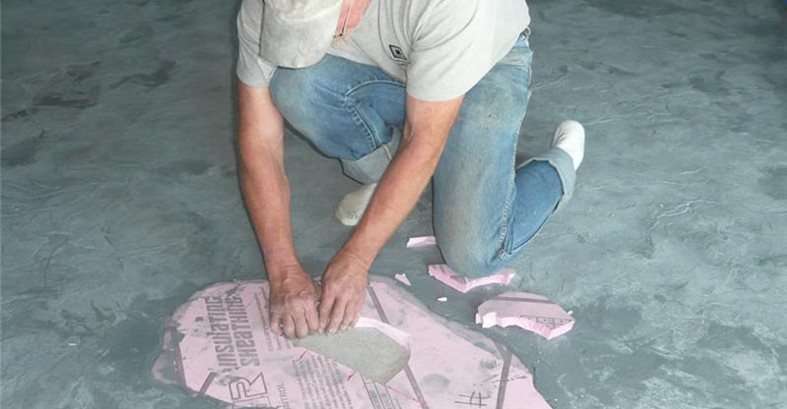
The next day, we begin to remove the foam.
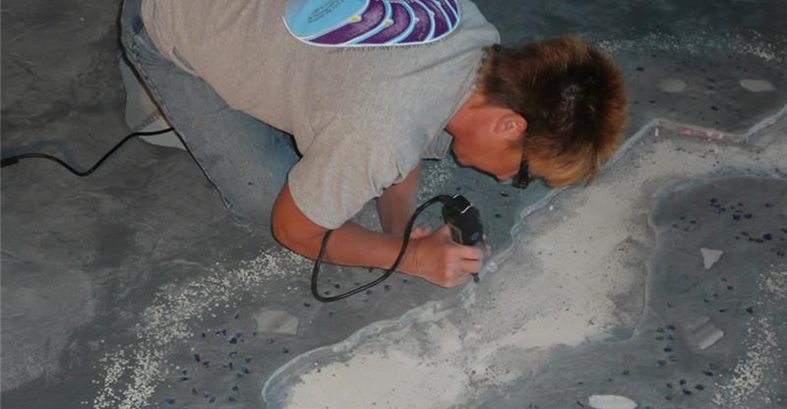
A dremel tool came in handy for removing residual foam.
All the foam is removed and the floor is ready for the next step.
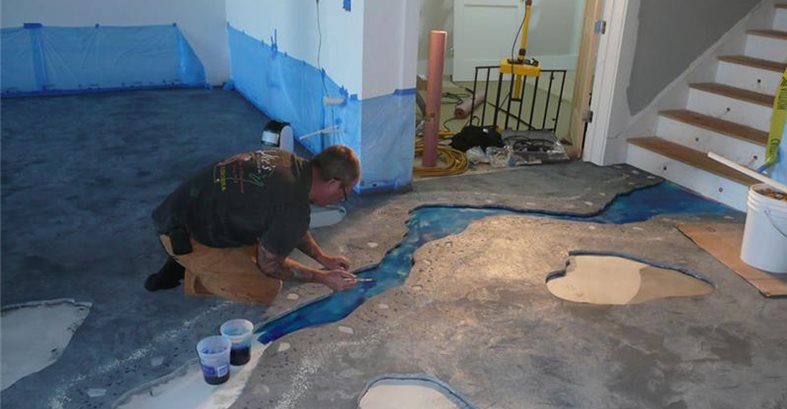
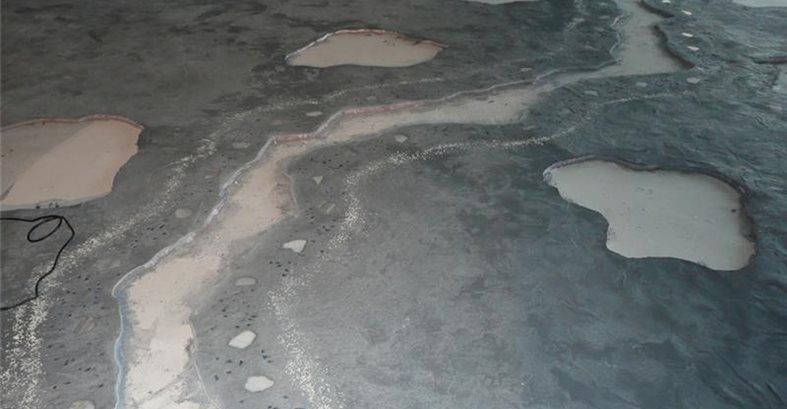
Harris begins applying the dyes to the riverbed, using a combination of Caribbean Blue and Royal Blue DCI dyes.
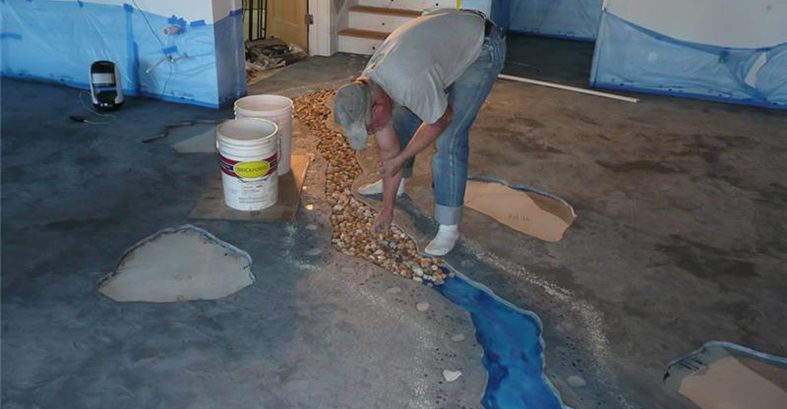
Next, the river rocks are placed in the riverbed.

The lighter-gray stepping stones are filled with the polymer-modified overlay and then textured. Next, we poured an epoxy casting resin on the rocks in the riverbed.
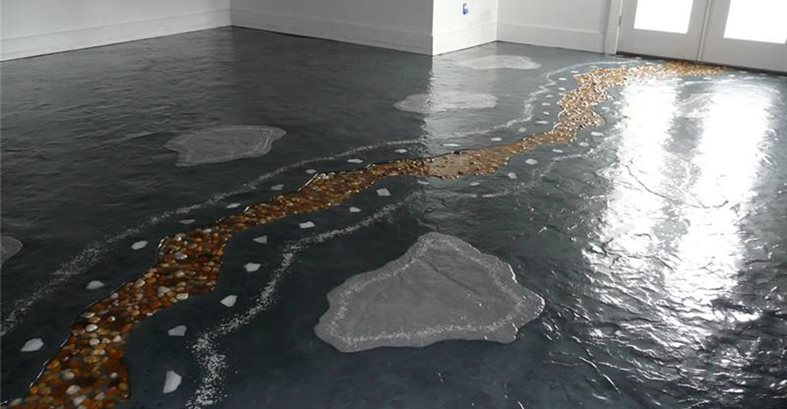
The finished project, after application of two coats of 100%-solids epoxy glaze.
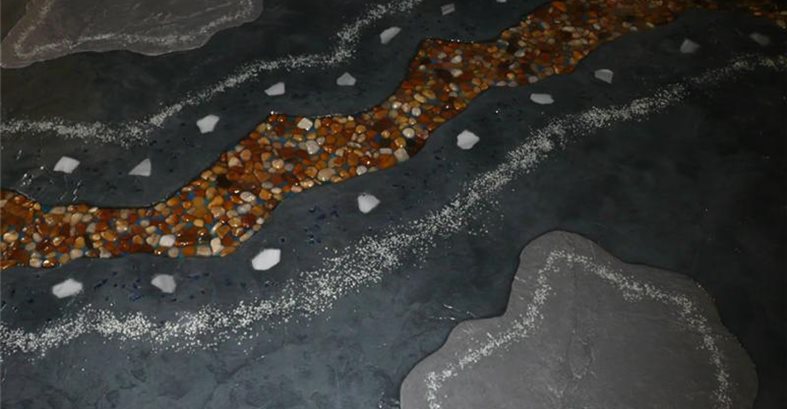
A close-up of the finished floor.